
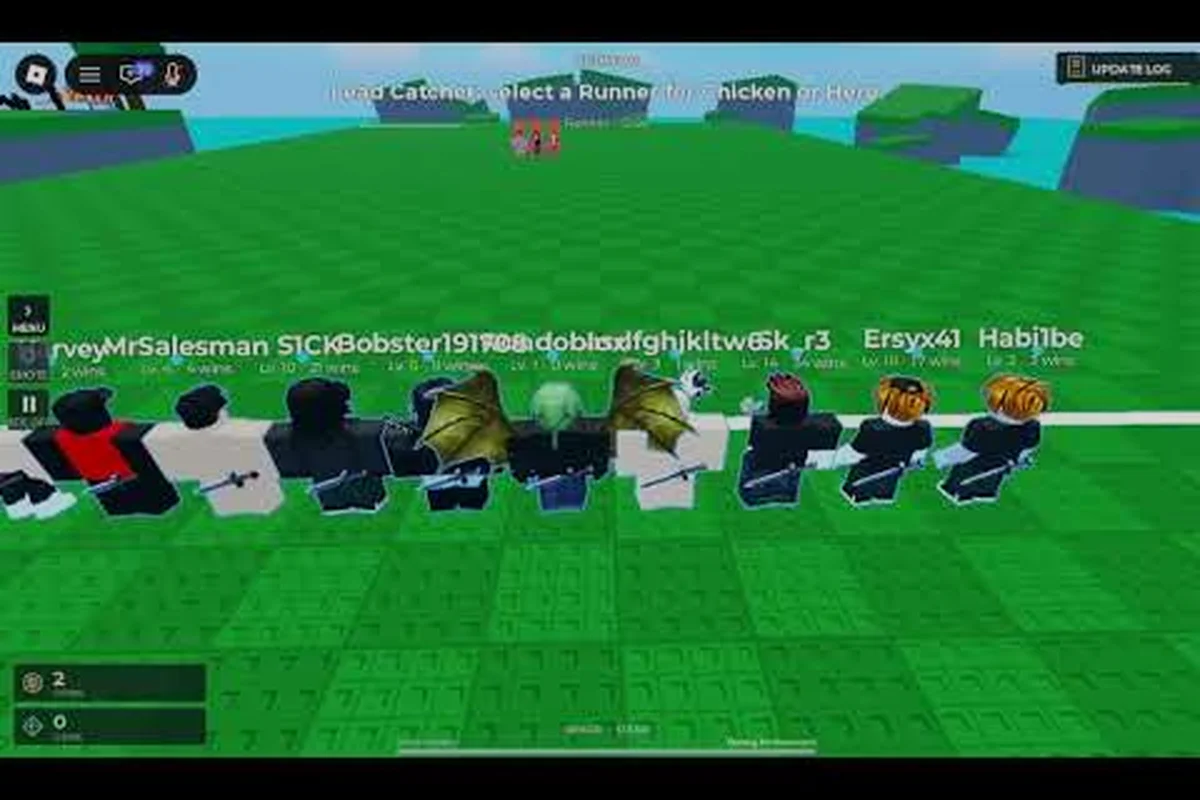
Huss Valley turns a childhood playground game into a tense 16-player survival arena where one wrong vault can end your run. This Huss Valley beginner guide breaks down the controls, round flow, and positioning habits that separate consistent survivors from players who get tagged in the first thirty seconds. Understanding the core loop matters because every match rewards quick decisions, and the margin between escaping and getting caught is often a single slide.
Huss Valley Core Loop and Match Structure
Every round in Huss Valley follows the same pressure curve: Runners spawn into the industrial arena of Folk Valley, the Chaser gets selected, and the hunt begins. The official Huss Valley game page confirms the free-to-play tag-survival format from developer Ve3, with up to 16 players entering each match. Runners need to cross the map while the Chaser tries to tag them, and the round ends when either all Runners are caught or the timer expires.
The core loop rewards spatial awareness more than raw speed. You can sprint in a straight line and still get caught because the Chaser anticipates your route, or you can chain vaults and slides to break line of sight. Community reports consistently highlight that new players lose rounds by running toward dead ends rather than looping through open sightlines.
| Phase | Duration Feel | Runner Priority | Chaser Priority |
|---|---|---|---|
| Spawn | 5-10 seconds | Identify nearest vault point | Pick an isolated target |
| Early Hunt | 20-40 seconds | Break line of sight | Cut off common routes |
| Mid Round | 40-90 seconds | Rotate between safe zones | Pressure multiple Runners |
| Endgame | Final 30 seconds | Hold a defensible loop | Commit to one chase |
The structure means you always have a next decision to make. Runners who freeze near spawn get tagged immediately, while those who commit to a rotation path survive longer. The round flow also explains why the Huss Valley full guide approach works: you learn the map first, then the movement tech, then the mind games.
Understanding the Runner and Chaser Dynamic
The asymmetry between roles defines every match. Runners have movement tools like Vault on Space and Slide on C, which let them clear obstacles and duck under sightlines. The Chaser has a different goal: close distance and force mistakes. Because the Chaser only needs to tag one Runner at a time, Runners who cluster together create easy multi-target pressure.
The Shiftlock control on Left Control helps Runners keep the camera aligned during tight turns, which matters when you are weaving through industrial props. Players who ignore shiftlock often over-rotate and clip a wall, losing the half-second that lets the Chaser close in. The Ability key on Q adds another layer, though its exact effect depends on the current update and loadout.
Huss Valley Movement Controls and Execution
Movement is the skill ceiling in Huss Valley, and the control scheme reflects that. The official page lists Vault (Space), Slide (C), Shiftlock (Left Control), Ability (Q), Journal (J), Get Task (T), and Leaderboard (Y) as the core keyboard bindings. Controller mapping uses Triangle/Y for the equivalent action, which matters if you play on a gamepad.
Sliding is not just a cosmetic crouch; it lowers your hitbox and preserves momentum through tight gaps. Vaulting clears low walls and railings that would otherwise force a wide detour. The combination of the two creates a movement rhythm that experienced players use to chain escapes. A common beginner mistake is treating slide as a panic button instead of a planned transition between sprint segments.
| Control | Key | Primary Use | Beginner Tip |
|---|---|---|---|
| Vault | Space | Clear obstacles | Start the input before reaching the wall |
| Slide | C | Duck under sightlines | Use after a sprint burst, not from standstill |
| Shiftlock | Left Control | Camera alignment | Toggle during tight cornering |
| Ability | Q | Contextual action | Test in a low-pressure early round |
| Journal | J | View objectives | Check between rounds, not mid-chase |
| Get Task | T | Pull current objective | Use when the Chaser is far away |
| Leaderboard | Y | Check player status | Quick glance, then refocus on movement |
The movement system rewards players who practice the transitions. Sprinting into a slide, then immediately vaulting a railing, creates a path that most Chasers cannot mirror without losing speed. The Huss Valley pro guide mentality is built on this: you are not outrunning the Chaser in a straight line, you are outmaneuvering them through terrain.
Chaining Vaults and Slides for Escape Lines
The best escape lines combine three or more movement actions in sequence. You sprint toward a low wall, slide under a pipe, vault the railing, and break line of sight behind a container. Each action forces the Chaser to adjust their path, and every adjustment costs them momentum. Because the Chaser has the same movement tools, the advantage comes from choosing routes that are harder to mirror.
Community data suggests that Runners who chain at least two movement actions per escape survive noticeably longer than those who rely on sprint alone. The reason is simple: a single action is predictable, while a chain forces the Chaser to guess your next input. If you always slide after vaulting, the Chaser learns the pattern. If you mix the order, you stay unpredictable.
Huss Valley Map Awareness and Positioning
Folk Valley is an industrial arena with multiple sightlines, elevated platforms, and narrow corridors. Knowing where you are relative to the Chaser matters more than knowing every corner of the map. The best Runners keep a mental map of safe zones: areas with multiple exits, vault points, and line-of-sight breaks that let them reset a chase.
Positioning errors compound quickly. If you run into a dead-end corridor, the Chaser only needs to follow you in. If you stand near a spawn point with no cover, you become the easiest first target. The Huss Valley how to play fundamentals start with reading the map before the round even begins, so you always have a rotation plan.
| Zone Type | Risk Level | Runner Strategy | Chaser Counter |
|---|---|---|---|
| Open Plaza | High | Cross quickly, use slide | Cut off diagonal routes |
| Corridor | Medium | Keep an exit behind you | Push toward the dead end |
| Elevated Platform | Low | Vault down to reset | Predict the drop point |
| Container Cluster | Low | Weave between props | Flush with pressure |
| Spawn Area | High early | Leave immediately | Camp the obvious exit |
The map awareness loop is constant: scan for the Chaser, identify the nearest safe zone, commit to a path, and reassess. Runners who tunnel-vision on one escape route get caught when the Chaser cuts them off. The Huss Valley Roblox guide approach emphasizes rotating between two or three safe zones instead of camping one spot, because a stationary Runner is a predictable Runner.
Reading Chaser Intent Through Positioning
The Chaser telegraphs their target through movement direction and speed. If the Chaser is sprinting directly at you, they have committed. If they are drifting toward a group, they are looking for an isolated target. Reading this intent lets you pre-rotate before the chase even starts, which is the difference between a clean escape and a desperate scramble.
Experienced Runners watch the Chaser during the early hunt phase and adjust their positioning accordingly. If the Chaser favors one side of the map, you rotate to the opposite side. If the Chaser ignores you to pressure a teammate, you use the window to reposition to a stronger safe zone. The Huss Valley lobby guide covers the pre-round planning that makes this positioning instinct second nature.
Huss Valley Objectives and Progression Systems
The Journal and Get Task controls point to an objective layer beyond simple survival. The Journal shows your current objectives, while Get Task pulls the active task to your screen. These systems add structure to each round, giving Runners optional goals that can shift the match dynamic. Completing tasks may provide advantages, though the exact rewards depend on the current update.
The Leaderboard key on Y shows player status at a glance, which helps you track who is still alive and who has been tagged. This information feeds directly into your positioning decisions: if most Runners are down, you play more conservatively. If the Chaser is far from your zone, you can afford to complete a task.
| System | Key | Function | Strategic Value |
|---|---|---|---|
| Journal | J | View objectives | Plan round priorities |
| Get Task | T | Pull active task | Know what to do next |
| Leaderboard | Y | Check player status | Adjust risk level |
| Ability | Q | Contextual action | Varies by loadout |
The progression systems reward players who engage with them without forcing a specific playstyle. You can ignore tasks and focus purely on survival, or you can complete objectives to gain incremental advantages. The Huss Valley full guide perspective is that tasks are a tool, not a requirement: use them when the Chaser is far away, skip them when pressure is high.
Using the Journal and Task System Effectively
The Journal is best checked between rounds or during safe moments, never mid-chase. Pulling up the Journal while the Chaser is closing distance costs you the reaction time you need to escape. Instead, check your objectives during the early hunt phase when the Chaser is still identifying targets, then commit to a plan.
The Get Task key works the same way: it is a planning tool, not an escape tool. Use it when you have breathing room to understand what the round expects from you. Players who ignore the task system entirely miss out on structure, while players who obsess over tasks get caught standing still. The balance is checking quickly, then moving.
Huss Valley Beginner Mistakes and How to Fix Them
Most beginner deaths in Huss Valley come from the same handful of errors. The first is running in straight lines, which makes you easy to track. The second is camping in one spot, which lets the Chaser set up an approach. The third is ignoring the movement tools, which leaves you without escape options when pressure arrives.
The fix for each mistake is specific. Instead of running straight, weave between props and use slides to break line of sight. Instead of camping, rotate between two or three safe zones. Instead of ignoring movement, practice vaulting and sliding in low-pressure moments so the inputs become automatic. The Huss Valley tips and tricks guide expands on these fundamentals with more advanced movement chains.
| Mistake | Why It Happens | Consequence | Fix |
|---|---|---|---|
| Straight-line sprinting | Panic response | Easy to track | Weave and slide |
| Camping one spot | False safety | Predictable target | Rotate between zones |
| Ignoring vault/slide | Input overwhelm | No escape options | Practice in safe moments |
| Tunnel vision | Focus lock | Missed Chaser movement | Scan every few seconds |
| Late reaction | Slow threat recognition | Tagged before escape | Pre-rotate on Chaser intent |
The pattern behind all these mistakes is a lack of proactive positioning. Beginners react to the Chaser instead of anticipating them. The Huss Valley pro guide mindset flips this: you position first, then react only when the Chaser forces a change. That shift in approach turns survival from luck into a repeatable skill.
Building a Survival Mindset from Round One
Your first round in Huss Valley should be about observation, not winning. Watch how the Chaser moves, note which zones feel safe, and test your movement tools. This low-pressure approach builds the map awareness and input comfort that later rounds demand. Players who try to win immediately often develop bad habits because they are reacting under stress.
The survival mindset also includes emotional control. Getting tagged early feels bad, but it is data: you learned where not to stand or which route not to take. Each death teaches you something about the map, the Chaser's patterns, or your own movement gaps. The Huss Valley quick guide offers a condensed version of these first-match fundamentals if you want a faster onboarding loop.
Huss Valley Advanced Survival Techniques
Once you have the basics down, the next layer of skill comes from reading the round as a whole. You track which Runners are still alive, where the Chaser is focusing, and which safe zones are still viable. This macro awareness lets you make better micro decisions, because every movement choice happens in the context of the round state.
Advanced Runners also use baiting and misdirection. You can intentionally show yourself on one side of a container, then slide to the other side as the Chaser commits. You can fake a vault by approaching a wall, then break off in a different direction. These techniques work because they exploit the Chaser's need to predict your path, and every wrong prediction costs them time.
| Technique | Execution | Risk | Reward |
|---|---|---|---|
| Route chaining | Link 3+ movement actions | Input error | Hard-to-mirror escape |
| Pre-rotation | Move before Chaser commits | Wasted movement | Clean escape window |
| Baiting | Show then break direction | Close call | Chaser momentum loss |
| Safe zone cycling | Rotate between 2-3 zones | Predictable pattern | Sustained survival |
| Task timing | Complete objectives when safe | Standing still | Progression advantage |
The advanced layer is where the Huss Valley how to play question gets its real answer: you play the Chaser as much as you play the map. Every movement is a message, and the Chaser reads those messages to predict your next step. By controlling what the Chaser sees, you control what they predict.
Adapting to Different Chaser Playstyles
Chasers fall into broad patterns. Some are aggressive, committing to the first target they see and chasing until they tag or lose line of sight. Others are patient, waiting for Runners to make mistakes and punishing overextensions. Some Chasers camp objectives, knowing that task-focused Runners will eventually come to them.
Adapting to each style requires flexibility. Against an aggressive Chaser, you play conservatively and use movement chains to break their commitment. Against a patient Chaser, you avoid predictable routes and stay mobile. Against an objective camper, you either skip tasks entirely or coordinate with other Runners to split their attention. The Huss Valley how to be the Chaser guide explains the Chaser perspective, which helps you predict what they are thinking.
Frequently Asked Questions
What is the best way to learn Huss Valley as a new player?
Start with observation rounds where you focus on map layout and movement tools instead of winning. Watch how the Chaser moves, test vault and slide inputs in safe moments, and identify two or three safe zones you can rotate between. This low-pressure approach builds the fundamentals that later rounds demand.
How many players can join a Huss Valley match?
Up to 16 players enter each match in the industrial arena of Folk Valley. One player becomes the Chaser while the rest play as Runners. The free-to-play format means you can jump into matches without any paywall, which makes it easy to practice the core survival loop.
What are the most important controls for beginners?
The core controls are Vault on Space, Slide on C, and Shiftlock on Left Control. These three inputs form the movement foundation that lets you clear obstacles, duck under sightlines, and maintain camera alignment during tight turns. The Ability key on Q adds a contextual layer that varies by loadout.
How do I avoid getting tagged in the first thirty seconds?
Leave the spawn area immediately and rotate toward a safe zone with multiple exits. Avoid running in straight lines, and use slides to break line of sight whenever the Chaser is closing distance. Pre-rotating based on the Chaser's movement direction gives you a head start before the chase even begins.
Do I need to complete tasks to win in Huss Valley?
No, tasks are optional objectives that add structure to each round. You can ignore them and focus purely on survival, or complete them when the Chaser is far away to gain incremental advantages. The key is checking the Journal and Get Task prompts during safe moments, never mid-chase.