
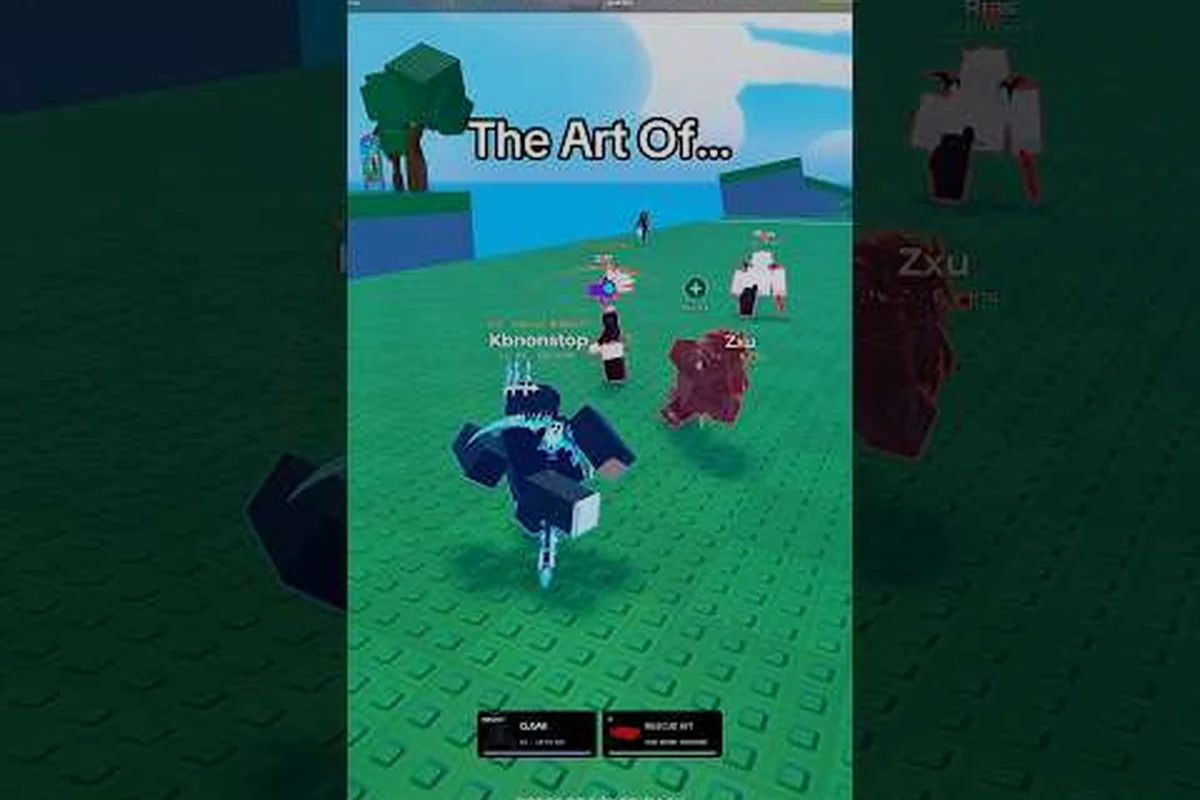
Chasing in Huss Valley is not about raw speed; it is about controlling space, timing abilities, and forcing runners into predictable lanes. The Huss Valley best chaser setup combines cooldown discipline with route knowledge so you can tag multiple targets without burning your entire kit on the first lunge. This guide breaks down the exact cooldown windows, patrol paths, and gang tag tactics that separate a consistent chaser from a lobby filler.
Understanding Chaser Cooldown Windows
Every ability in Huss Valley operates on a cooldown cycle, and the Huss Valley chaser cooldowns are the backbone of your pressure game. When you waste a lunge or a gadget at the wrong moment, you give runners a free reset window. The key is to track your own cooldowns while reading the runner's movement patterns, because a chaser who knows exactly when their next tool comes online can commit to aggressive cuts without hesitation.
Core Ability Timing and Recovery
The lunge ability is your primary engagement tool, but it carries a recovery animation that runners exploit. According to the official Huss Valley page, chaser play revolves around lunge timing and route cutting: wait for a runner to commit to a turn, then punish the recovery animation instead of chasing straight. This means you should hold your lunge until the runner has already dodged or changed direction, because the lunge's travel time covers the gap while the runner is locked in their own animation.
| Ability | Cooldown Window | Best Use Case | Common Mistake |
|---|---|---|---|
| Lunge | Short, but recovery-locked | Punishing a committed dodge | Using it to initiate from max range |
| Size Shift | Medium | Crowd control in tight corridors | Popping it in open space |
| Clone Replicator | Long | Autonomous pressure on a second target | Deploying it without a follow-up plan |
| Patrol Dash | Short | Cutting off alleyway exits | Dashing straight at a runner in open ground |
The table above reflects community-reported timing windows, and exact values may shift slightly with future patches. The important pattern is that your short-cooldown tools should be used reactively, while your long-cooldown gadgets need to be saved for moments when they create a guaranteed tag or force a runner into a teammate's zone.
Cooldown Discipline in Multi-Target Scenarios
When you are chasing multiple runners, the Huss Valley ability cooldown chaser mindset changes. You cannot afford to tunnel on one target while your other abilities sit idle. Instead, you should rotate your cooldowns so that at least one tool is always available for a cut or a punish. For example, if you burn your lunge on the first runner, you should immediately position yourself to use Patrol Dash on the second runner who is trying to escape through a side alley.
Community data suggests that the most effective chasers keep a mental timer for their Clone Replicator, because that gadget creates autonomous pressure that lets you split your attention. When the Clone Replicator is active, you can chase one runner manually while the clone harasses another, effectively turning a 1v2 into two 1v1 scenarios. This is where the Huss Valley multi target chaser approach really shines, because you are not just faster—you are creating multiple threat vectors at once.
Building a Patrol Route That Controls the Map
The Huss Valley patrol route chaser strategy is about denying escape paths before runners even reach them. If you chase reactively, you will always be one step behind. If you patrol proactively, you force runners to move into areas where your cooldowns are already positioned. The map in Huss Valley has several key chokepoints, and the best chasers memorize which alleys connect to which open zones.
Reading the Map's Natural Chokepoints
Every map has lanes that funnel movement, and Huss Valley is no exception. The official page notes that predicting the shortest path to cut off alleyways is more effective than chasing straight. This means you should not follow a runner's exact path; you should cut toward the exit they are heading for. When a runner enters an alley, they have committed to one of two exits, and a chaser who positions at the far exit forces the runner to either double back or eat a lunge.
| Zone Type | Patrol Priority | Why It Matters | Recommended Tool |
|---|---|---|---|
| Central Plaza | Medium | High visibility, multiple exits | Clone Replicator |
| Narrow Alleys | High | Forced commit, easy cut | Lunge |
| Rooftop Edges | Low | Risky for both sides | Patrol Dash |
| Corner Corridors | High | No escape if cut correctly | Size Shift |
The patrol route should loop through the high-priority zones in a way that keeps you within one dash of the most common escape lanes. If you spend too long in the Central Plaza, runners will slip through the alleys. If you camp the alleys, runners will use the open ground to juke. The balance is a loop that touches each chokepoint every 15 to 20 seconds, which matches the cadence of your short cooldowns.
Adapting the Route to Lobby Size
When the lobby is full, your patrol route needs to cover more ground because there are more runners to track. When the lobby thins to a head-to-head, the official page explains that chasers shift into 1v1 Arena Duel behavior, tracking jukers and forcing corner catches or team-herding into choke points. This means your patrol route should tighten as the game progresses, because you no longer need to cover the entire map—you just need to control the zone where the last runner is hiding.
The chaser guide covers the fundamentals of lunge timing and route cutting in more detail, but the core idea here is that your patrol route is a living thing. It expands when the lobby is crowded and contracts when the chase becomes a duel. The best chasers do not run the same loop all game; they adjust their path based on how many runners are still alive and which zones those runners have been using.
Gang Tag Strategy for Coordinated Chases
The Huss Valley gang tag strategy is what turns a solo chaser into a coordinated hunting pack. When multiple chasers work together, the goal is not to all chase the same runner—it is to herd runners into each other's zones. A gang tag happens when one chaser forces a runner to dodge, and a second chaser is already positioned at the dodge destination to land the tag.
The Pincer Formation for Choke Point Tags
The most reliable gang tag setup is the pincer. One chaser pushes from the open side, while the other chaser waits at the alley exit. The runner sees the first chaser and dodges backward, only to run directly into the second chaser's lunge. This works because runners naturally move away from pressure, and a coordinated team can predict that movement before it happens.
| Gang Tag Role | Positioning | Timing | Key Responsibility |
|---|---|---|---|
| Pusher | Open side of the zone | Engage first | Force the runner to commit |
| Cutter | Alley exit or corner | Engage second | Punish the forced dodge |
| Floater | Between zones | Rotate as needed | Cover escape routes |
| Anchor | Central chokepoint | Hold position | Deny the reset |
The Pusher should use their short-cooldown tools to create pressure, while the Cutter saves their lunge for the moment the runner commits. The Floater is the flexible piece who rotates to wherever the runner is trying to escape, and the Anchor holds the central chokepoint so the runner cannot reset to a safe zone. This four-role structure scales down to two chasers by combining the Pusher and Anchor roles.
Communication Without Voice Chat
Not every lobby has voice chat, so the Huss Valley gang tag strategy needs to work with visual cues and positioning alone. The most important signal is your own movement: when you move to cut an alley, your teammate should read that as a signal to push from the other side. When you hold a corner, your teammate should know that you are anchoring and they should push the runner toward you.
The apply pressure guide goes deeper into advanced chaser tactics, including how to target the weakest runner and how to catch players in alleyways. For gang tags specifically, the key is to always be aware of where your teammate is and what angle they are covering. Two chasers who both chase the same runner from the same angle are just two solo chasers in the same lobby; two chasers who split angles are a hunting pack.
Multi-Target Chaser Loadout and Ability Synergy
The Huss Valley multi target chaser loadout is built around abilities that create pressure on more than one runner at a time. The Clone Replicator is the centerpiece of this loadout, because it lets you apply pressure to a second target without splitting your own attention. Size Shift is the secondary tool, because it controls space in tight corridors where multiple runners often cluster.
Ability Synergy Breakdown
The best loadouts combine one engagement tool, one crowd control tool, and one autonomous pressure tool. The engagement tool is your lunge or dash, the crowd control tool is Size Shift, and the autonomous pressure tool is Clone Replicator. When you use all three in sequence, you create a layered threat that forces runners to make multiple decisions in a short window.
| Loadout Slot | Recommended Ability | Synergy Partner | Why It Works |
|---|---|---|---|
| Engagement | Lunge | Size Shift | Lunge punishes the dodge that Size Shift forces |
| Crowd Control | Size Shift | Clone Replicator | Clone pressures while Size Shift blocks the exit |
| Autonomous | Clone Replicator | Patrol Dash | Clone harasses one target while you dash to another |
| Flex | Patrol Dash | Lunge | Dash cuts the route, lunge lands the tag |
The synergy between Size Shift and Lunge is particularly strong in multi-target scenarios. When you pop Size Shift in a corridor, runners are forced to either slow down or take a longer route. The ones who slow down are easy lunge targets, and the ones who take the longer route are easy to cut with Patrol Dash. This layered approach is what separates the Huss Valley best chaser setup from a basic loadout that just stacks speed.
When to Use Each Tool in a Chase
The order of operations matters more than the individual abilities. You should open with your autonomous pressure tool, follow with your crowd control tool, and save your engagement tool for the guaranteed tag. If you open with your lunge and miss, you have burned your best tool and given the runner a free reset. If you open with Clone Replicator, you create pressure that forces the runner to move, and then you can use your other tools to punish that movement.
The abilities guide breaks down every ability in Huss Valley, including tier rankings and combo potential. For the multi-target chaser specifically, the priority is clear: autonomous pressure first, crowd control second, engagement last. This order maximizes the value of each cooldown and ensures that you always have a tool available when the runner makes a mistake.
Advanced Patrol Tactics for Late-Game Chases
As the lobby thins, the Huss Valley patrol route chaser strategy shifts from area denial to targeted hunting. You no longer need to patrol the entire map; you need to identify which zone the remaining runners are using and tighten your loop around that zone. The official page describes this as shifting into 1v1 Arena Duel behavior, where you track jukers and force corner catches.
Tightening the Loop in the Endgame
The endgame patrol loop should be much smaller than the early-game loop. Instead of touching every chokepoint, you should focus on the two or three zones where the last runners have been spotted. This lets you cycle your cooldowns faster, because you are spending less time traveling and more time applying pressure. A tight loop also makes it harder for runners to reset, because they cannot escape to a far zone without crossing your patrol path.
| Game Phase | Patrol Loop Size | Cooldown Priority | Primary Goal |
|---|---|---|---|
| Early (6+ runners) | Large, full map | Clone Replicator | Area denial |
| Mid (3-5 runners) | Medium, half map | Size Shift | Zone control |
| Late (1-2 runners) | Small, single zone | Lunge | Corner catches |
The late-game loop is where the Huss Valley best chaser setup really pays off, because your cooldown discipline and route knowledge compound. A chaser who has been tracking their cooldowns all game will have their lunge ready exactly when the last runner tries to juke, and a chaser who knows the map will already be positioned at the corner where that juke ends.
Forcing Corner Catches
A corner catch happens when you position yourself at the exit of a corner before the runner reaches it. The runner thinks they are escaping around the corner, but you are already there waiting. This works because runners commit to the corner before they can see what is on the other side, and a chaser who predicts that commit can punish it with a lunge.
The runner guide explains how runners try to escape the chaser, which is useful reading for chasers who want to understand the other side of the matchup. For corner catches specifically, the key is to not chase the runner into the corner—you want to cut to the far side and meet them as they exit. This requires you to predict the runner's path, which is exactly what the patrol route strategy trains you to do.
Frequently Asked Questions
What is the best chaser ability for multi-target pressure?
The Clone Replicator is the best multi-target ability because it creates autonomous pressure on a second runner while you chase the first. This effectively splits a 1v2 into two 1v1 scenarios, letting you control more space without splitting your own attention. Pair it with Size Shift for corridor control.
How do I manage Huss Valley chaser cooldowns effectively?
Track your short-cooldown tools reactively and save long-cooldown gadgets for guaranteed tags. Use lunge to punish committed dodges, not to initiate from max range. Rotate your cooldowns so at least one tool is always available for a cut, especially when chasing multiple runners.
What is the best patrol route for a chaser in Huss Valley?
Loop through high-priority chokepoints like narrow alleys and corner corridors every 15 to 20 seconds. Avoid camping open zones where runners can juke freely. Tighten your loop as the lobby thins, focusing on the zones where the last runners have been spotted.
How does gang tag strategy work without voice chat?
Use positioning as your communication. When you move to cut an alley, your teammate should read that as a signal to push from the other side. The Pusher engages first to force a commit, while the Cutter waits at the exit to land the tag on the forced dodge.
When should I switch from area denial to targeted hunting?
Switch when the lobby drops to three or fewer runners. At that point, you no longer need to cover the entire map. Tighten your patrol loop to the two or three zones where the remaining runners are active, and prioritize your lunge for corner catches and forced jukes.